Once I understand Armati better I'll post a better review but a few initial impressions at this point. Armati is a fairly old set of rules by modern standards - I have Edition 2 from 2003 but the original is from the 90's. Its from the pen of noted designer Arty Conliffe (Shako, Tactica, Crossfire etc). The guts of the combat are pretty simple with units rolling off against each adjusted by a few factors, but most of the variations are captured in Fight Values (FVs) that vary depending on the situation the unit is in e.tg. frontal combat, flanked, or rough terrain.
The core concept though is C&C and manoeuvre. There is no command friction as such, but limits on how many groups of units you can control depending on your army. Also moves other then straight forward tend to be pretty restricted so you need to plan ahead and can nt rapidly react to the unexpected without well-placed reserves.
The Game
Both sides deployed with a little assistance from Roy as it was our first game. The Romans deployed towards their left of the deployment zone with a solid core of Legionaries forming their centre. The limited cavalry protected the Roman's left and the Auxilia, bowmen, and skirmishers protected the right. A single unit of Legionaries in column was held in reserve.The Dacians formed a solid block covering most of the central section of the table with Sarmatian cavalry on their right flank supported by bows and falx men. The Dacians left was more lightly held by skirmishers and cavalry.
 |
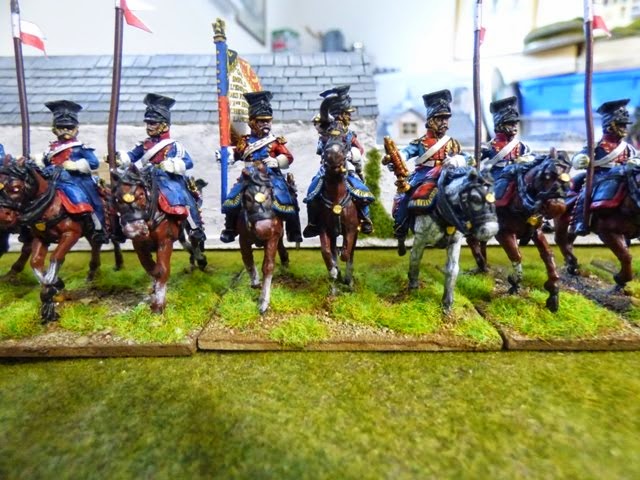
| Sarmatian cavalry supported by falx - the heavy rumble of the cataphracts is causing camera shake! |
 |
| The Dacian centre |
 |
| View from the Roman right flank |
 |
| View from the Roman left with our tutor looking on at the assembled hordes |

On the Dacian right the action favoured them as they had perhaps hoped. The Roman cavalry scattered the Dacian archers but proved little more than a speed-bump to the Sarmatian cataphracts. Over the coarse of a couple of rounds they were able to smash through both units of Roman heavy cavalry.
 |
| Dacian right advances |
 |
| The initial cavalry action - Sarmatians in the ascendancy |
 |
| The second Roman unit takes some heavy hits |
Over on the Roman right with the cavalry under control, the Auxilia and skirmishers were able to move to support the main Roman line. Although not a match for the Dacians they were able to delay them and being non-core they did not impact on Roman morale.
 |
| Roman right - the lights began to wear-down the Dacians |
So whilst the Romans had lost 2 core units to 1, they had managed to occupy a strong Dacian force with a smaller one. So not perhaps as bad as it looked at the time!

In the centre the Roman heavy infantry finally made it to the Dacian line and began to grind away at the tribesmen. The Romans were deployed wide, which extended the line but made them vulnerable to being swept away and meant most were outnumbered by the Dacians deployed in depth.
The action ebbed and flowed a little until the gods of war intervened. The Legionaries on the Roman extreme left threw poorly at a critical time, exposing a flank that led to another Legionary loss. This meant the Romans had hit their break point (4 core units).

So the final result was a 4-3 win for the Dacians, so a pretty close result. Things could have easily been different with better dice from the Legionaries or with some skirmisher shooting that nearly broke the Dacian right.
Part 2 next week will see the Romans falling back on their bridge-head over the Danube in more defensive mode.
Campaign Update

No comments:
Post a Comment